Photographing Tiger Sharks: A Field Guide From an Award-Winning Photographer
The recipe for a strong tiger shark photograph in Fuvahmulah: stay low on the sand, shoot slightly upward at 1/200s or faster, let the 6–8 meter depth give you n
Photographing Tiger Sharks: A Field Guide From an Award-Winning Photographer
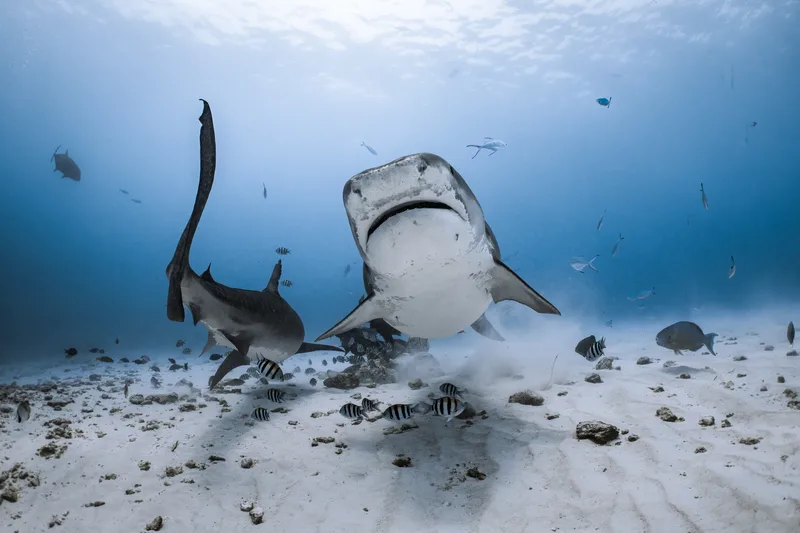
The recipe for a strong tiger shark photograph in Fuvahmulah: stay low on the sand, shoot slightly upward at 1/200s or faster, let the 6–8 meter depth give you natural light most destinations would kill for, and — above all — let the shark finish its approach. The technical side is learnable in a morning. The craft is in the patience, the positioning, and the respect.
I've photographed sharks across the world's great sites, and I co-founded a dive center on this island for a simple reason: nowhere else offers a photographer this much tiger shark, this often, in this light. Here's my actual field guide — the one I teach in the water.
Why Fuvahmulah is a photographer's unfair advantage
Every famous tiger shark photo destination gives you something. Tiger Beach gives you the white-sand studio; South Africa gives you drama. Fuvahmulah gives you volume and variety: 4–10 individual tigers per dive, every day of the year, on a bright sand stage at snorkel-depth light — plus walls, dawn thresher windows and spring manta season for the rest of your portfolio.
Depth is the quiet gift. At 6–8 meters, red hasn't fully died and ambient light still works with you. You can shoot available-light here in a way that's simply impossible on deeper shark dives — and when you do add strobes, they're seasoning, not surgery.
The repetition is the loud gift. The shot you missed today? The same shark will offer it again tomorrow. Portfolios aren't built on lucky dives; they're built on repeatable ones.
Settings: my honest starting points
Every camera is different; every morning is different. But if you kneel next to me at Tiger Harbour, this is where we'll start:
- Shutter: 1/200–1/320. Tigers move slowly — until the moment they don't. Freeze the pectoral fins and the eye.
- Aperture: f/8–f/11 for wide-angle work — sharpness across a big animal at close range.
- ISO: whatever the light demands — modern sensors handle 400–800 gracefully; grain is more forgivable than blur, always.
- Wide angle, always. A tiger at one meter through a wide lens is a portrait. Through anything longer it's a cropped rumor. If it's far away, the photo isn't there yet — wait.
- Strobes: low power, angled out, for eye-light and stripe detail — the ambient light does the heavy lifting at this depth. (Strobe-free is a completely legitimate look here; some of my awarded frames are ambient.)
- Shoot RAW. The blue you'll want to protect in post is exactly the blue JPEG throws away.
Positioning: where photographs actually come from
Settings are 20% of the picture. This is the other 80%:
Get low. Then lower. Chest near the sand, camera at or below the shark's eyeline, shooting slightly up — that's what turns a fish into a presence against the surface light. The difference between shooting down at a shark and up at one is the difference between surveillance and cinema.
Let the approach complete. The best frame is almost always two seconds after the frame you wanted to take. Tigers approach in long, committed arcs — hold your position, hold your breath rhythm, and let the animal walk into the composition you already built.
Compose for the eye. A tiger shark's eye in contact with the lens is the whole photograph. Stripes, sand, sun — all supporting cast.
Work the stage, not the chase. In Fuvahmulah, the sharks come to the plateau. Chasing ruins the encounter for everyone, spooks the subject, and — this matters — takes you out of the safety formation. Which brings us to the part I teach hardest:
The etiquette (and why the safety team makes your photos better)
Here's what beginners get backwards: they think the protocol limits their photography. It is their photography.
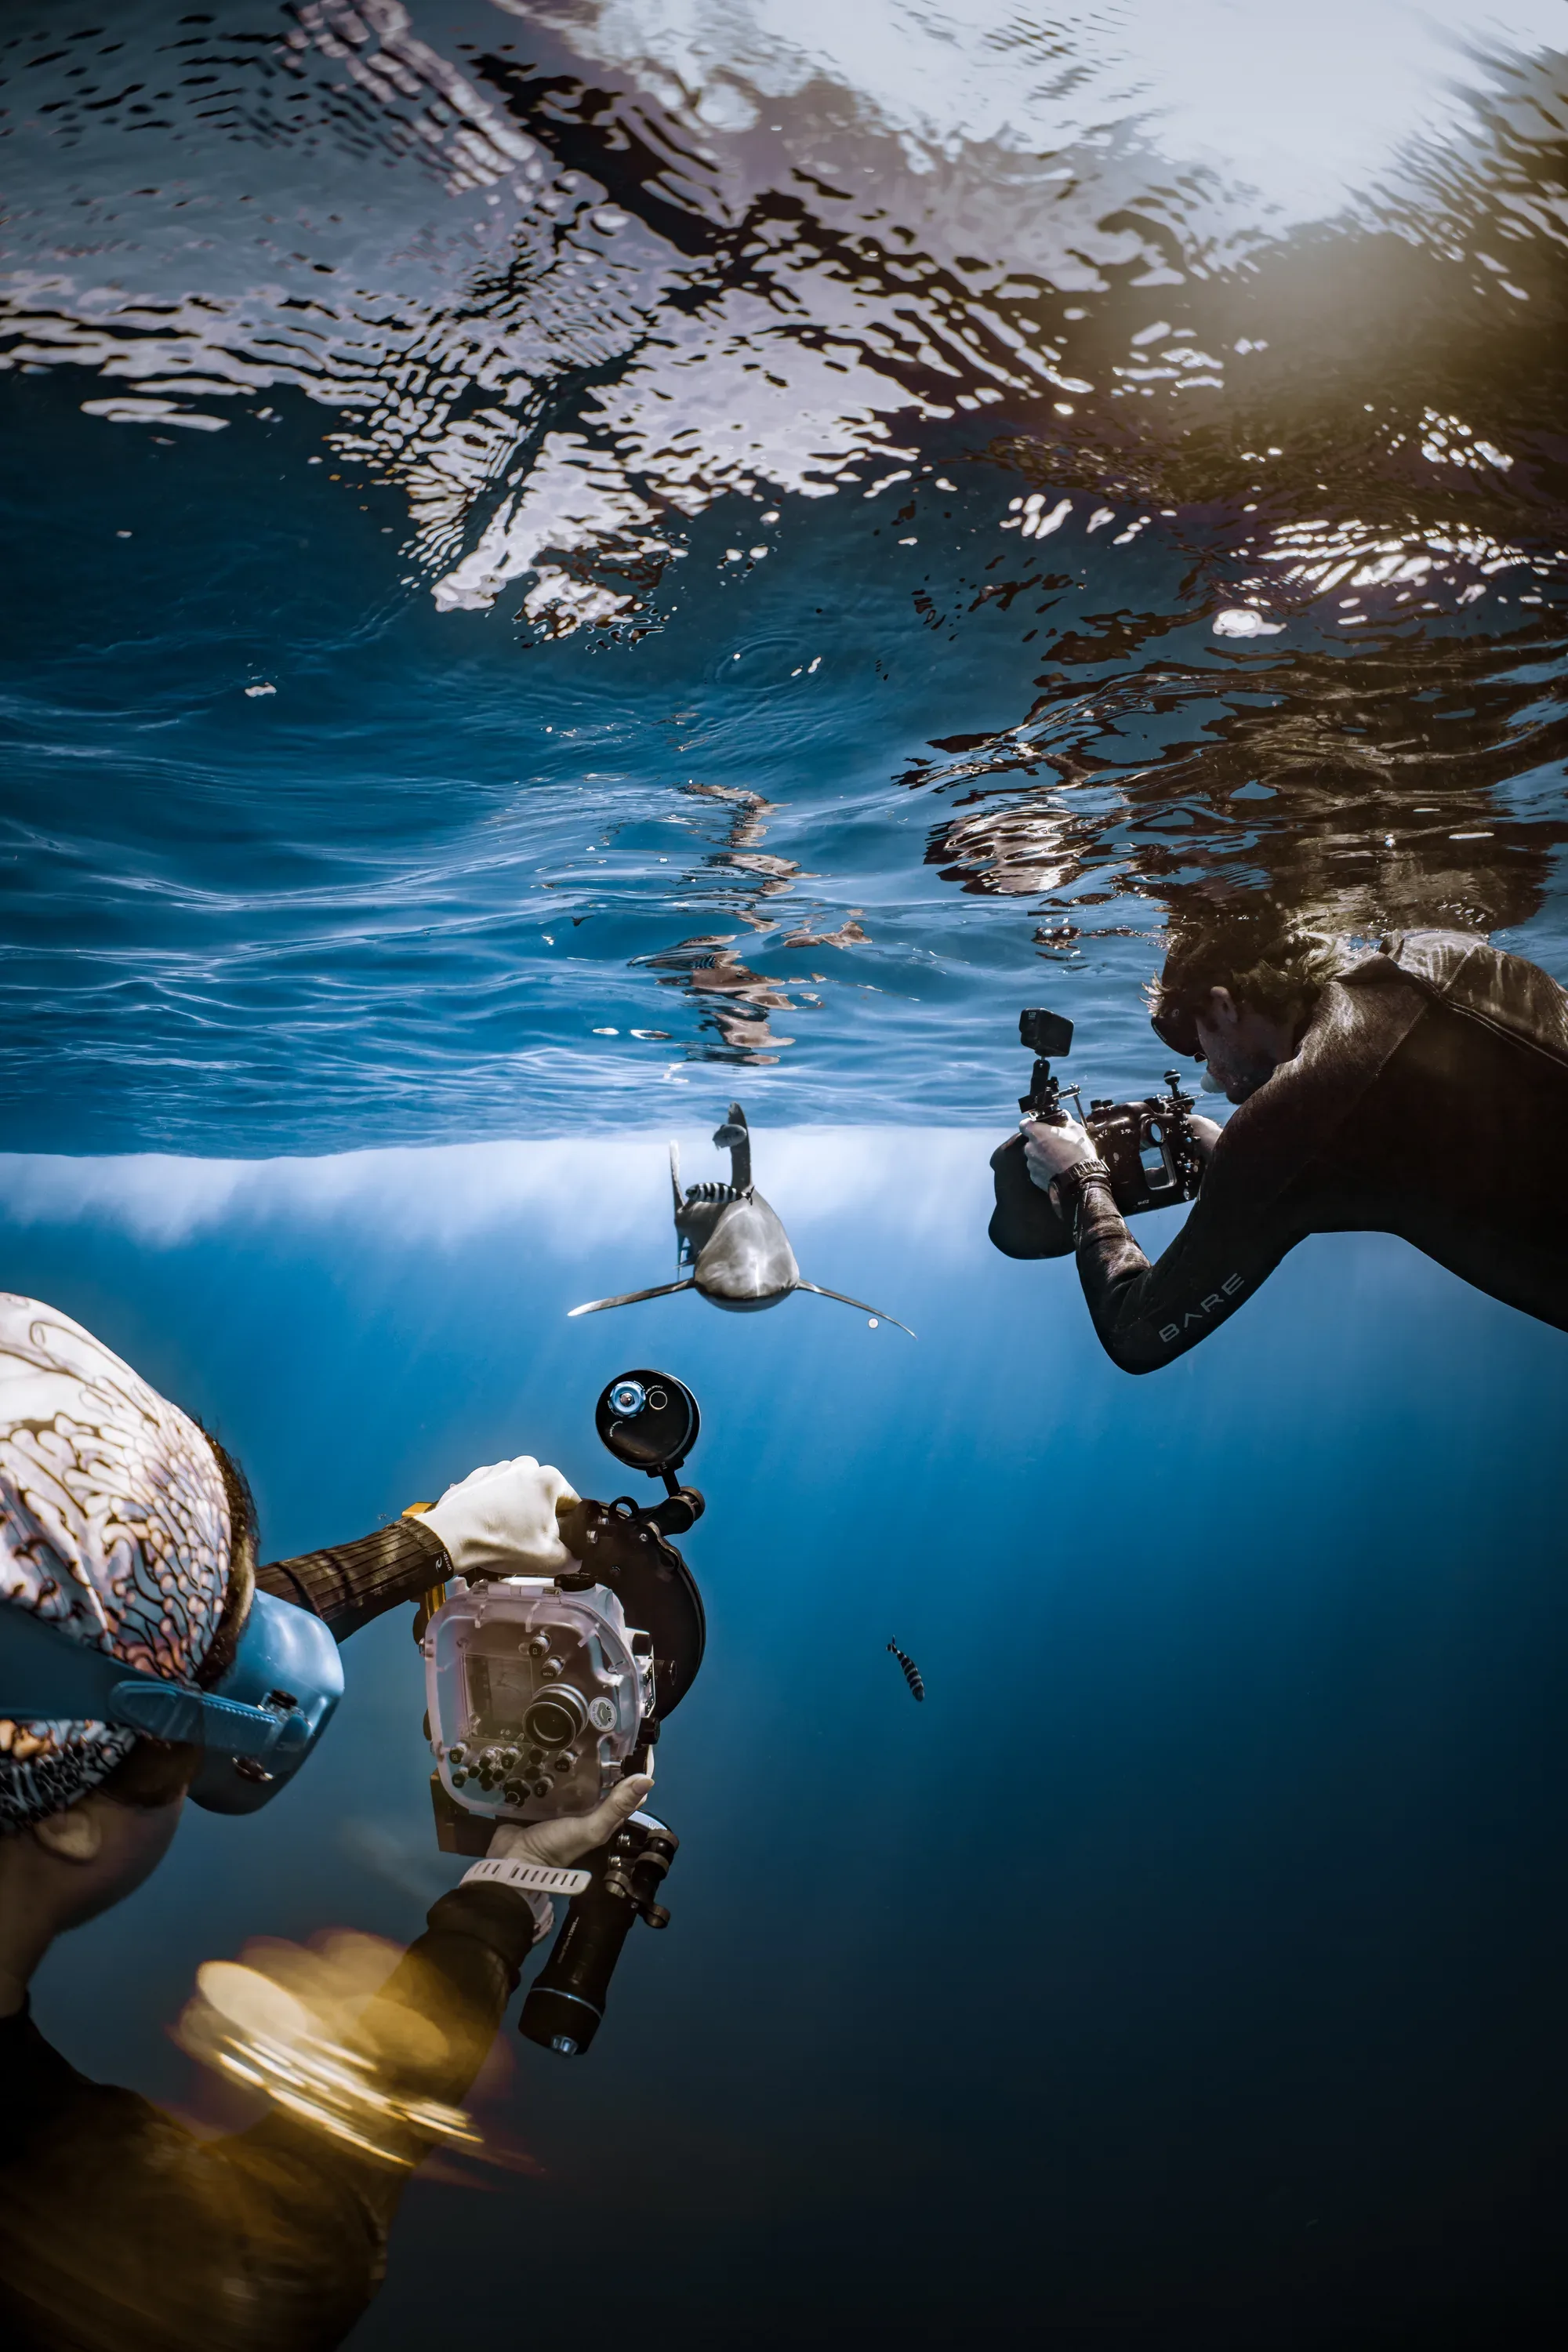
You can only shoot calmly two meters from an apex predator because a system is holding the edges — safety divers watching what's behind you while you're lost in a viewfinder. So: camera never breaks the rules. Stay in formation. When a guide repositions you, move first and re-frame after. Never put the shot between you and awareness — the photographer who looks up every few frames gets more dives, more trust, and more shots.
And the deeper truth, the one that took me years: the respect reads in the image. Photographs taken calmly, at eye level, without pressure on the animal, carry something viewers feel without naming. It's the difference between a trophy and a portrait. The ocean gives better pictures to better guests.
Beyond the tigers: the Fuvahmulah portfolio week
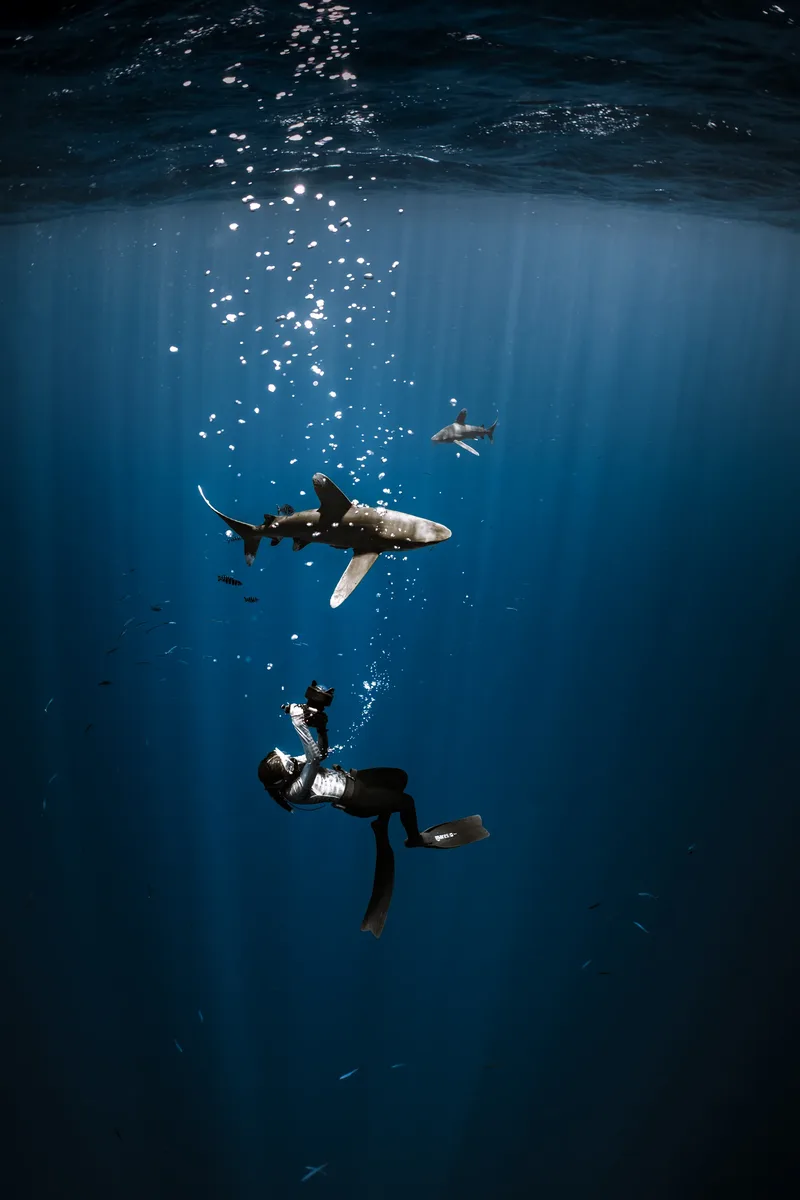
A photography trip here layers subjects most destinations can't offer in a year: dawn threshers in blue twilight (the hardest, most rewarding shot on the island), hammerhead schools in season, oceanic mantas blotting out the spring sun, silvertips, tuna storms, and the walls themselves. Ten days here produces a body of work, not a picture.
If you want to shortcut years: dive with me
This is the part where I tell you what I actually do here. Beyond running the dive center, I teach:
- Photography mentorships — 1 day ($450), 3 days ($1,000), 5 days ($1,600): you and me, in the water with the tigers, building your images shot by shot — settings, positioning, light, then editing together on land. Every mentorship includes the official SSI Photo & Video Specialty certification if you want the card alongside the craft.
- Editing sessions ($250/1h · $400/2h): your RAW files, my workflow, your style — sharpened.
- Not a photographer (yet)? Photo packages from $200: dive free-handed while a pro shoots your week.
Everything lives on the underwater photography page. Mentorship weeks in high season are few by design — I teach small or not at all.
FAQ
What camera settings for tiger sharks? Start: 1/250s, f/8–f/11, auto-ish ISO, wide angle, RAW. Then adjust to the morning. Settings begin the conversation; position and patience finish it.
Do I need strobes at Tiger Harbour? No — 6–8m depth keeps ambient light workable, which is rare and wonderful for shark photography. Strobes add eye-light and stripe punch; low power, wide angles.
Can beginners photograph the tiger dive? If your buoyancy is solid, yes — the plateau is the most forgiving shark-photo stage I know. Be honest about your control first (this dive rewards it); cameras and chaos don't mix.
GoPro — worth it? Absolutely: wide, close, low, sun behind you, and film the pass rather than chasing stills. Some of our guests' favorite memories are simple GoPro clips with their own breathing as the soundtrack.
Want to build your shark portfolio with someone who's spent years on this exact sand? Tell me what you shoot and what you're dreaming of — I'll tell you honestly what a mentorship can and can't do for it. Photography with Sina →
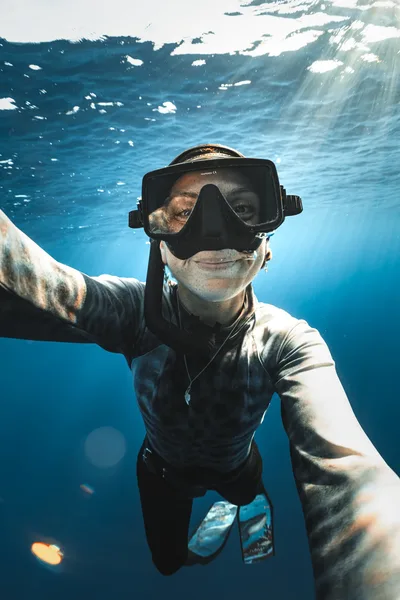
Sina Ritter is a multi-award-winning underwater photographer, SSI Photo & Video instructor, and co-founder of Liquid Shark Divers Fuvahmulah. The tiger sharks of this island are her most photographed — and most patient — collaborators. Meet the team →