How to Edit Underwater Photos: My Exact RAW Workflow
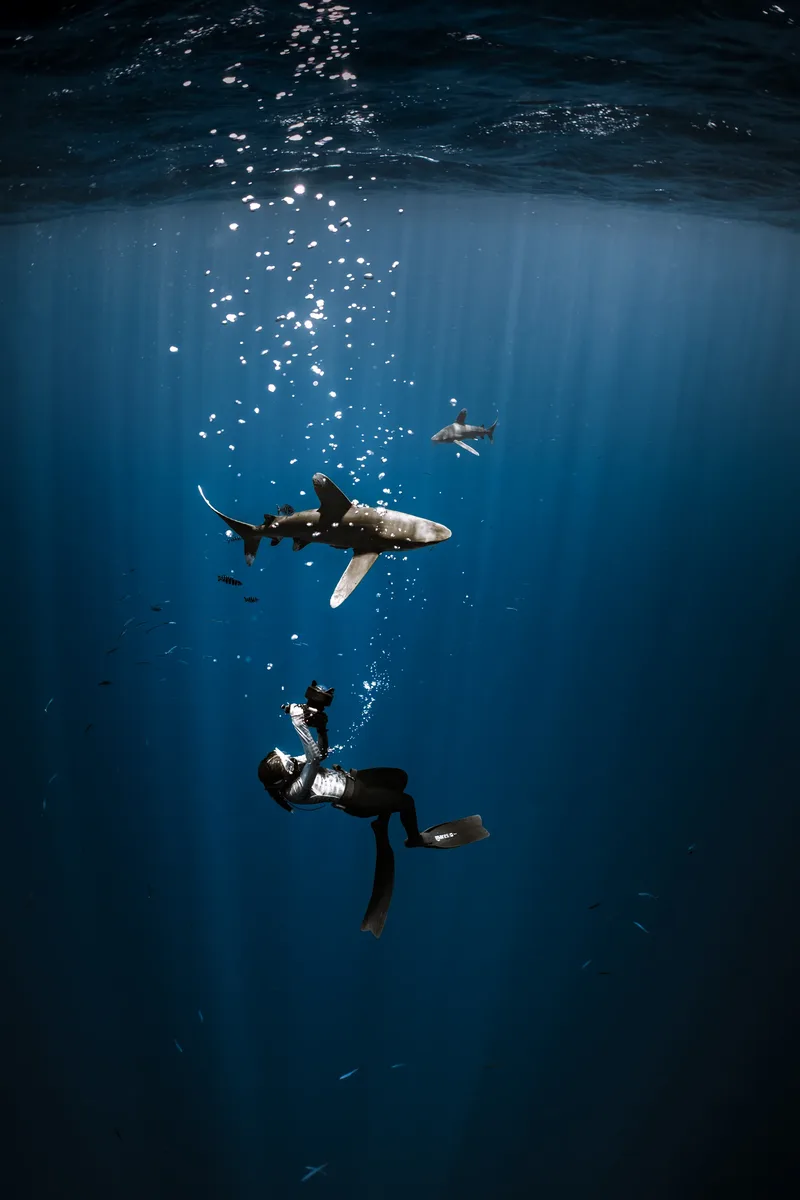
Editing underwater photos follows a fixed rescue order: white balance first, exposure second, contrast and dehaze third, selective masking fourth, backscatter cleanup fifth, and restraint throughout.
How to Edit Underwater Photos: My Exact RAW Workflow
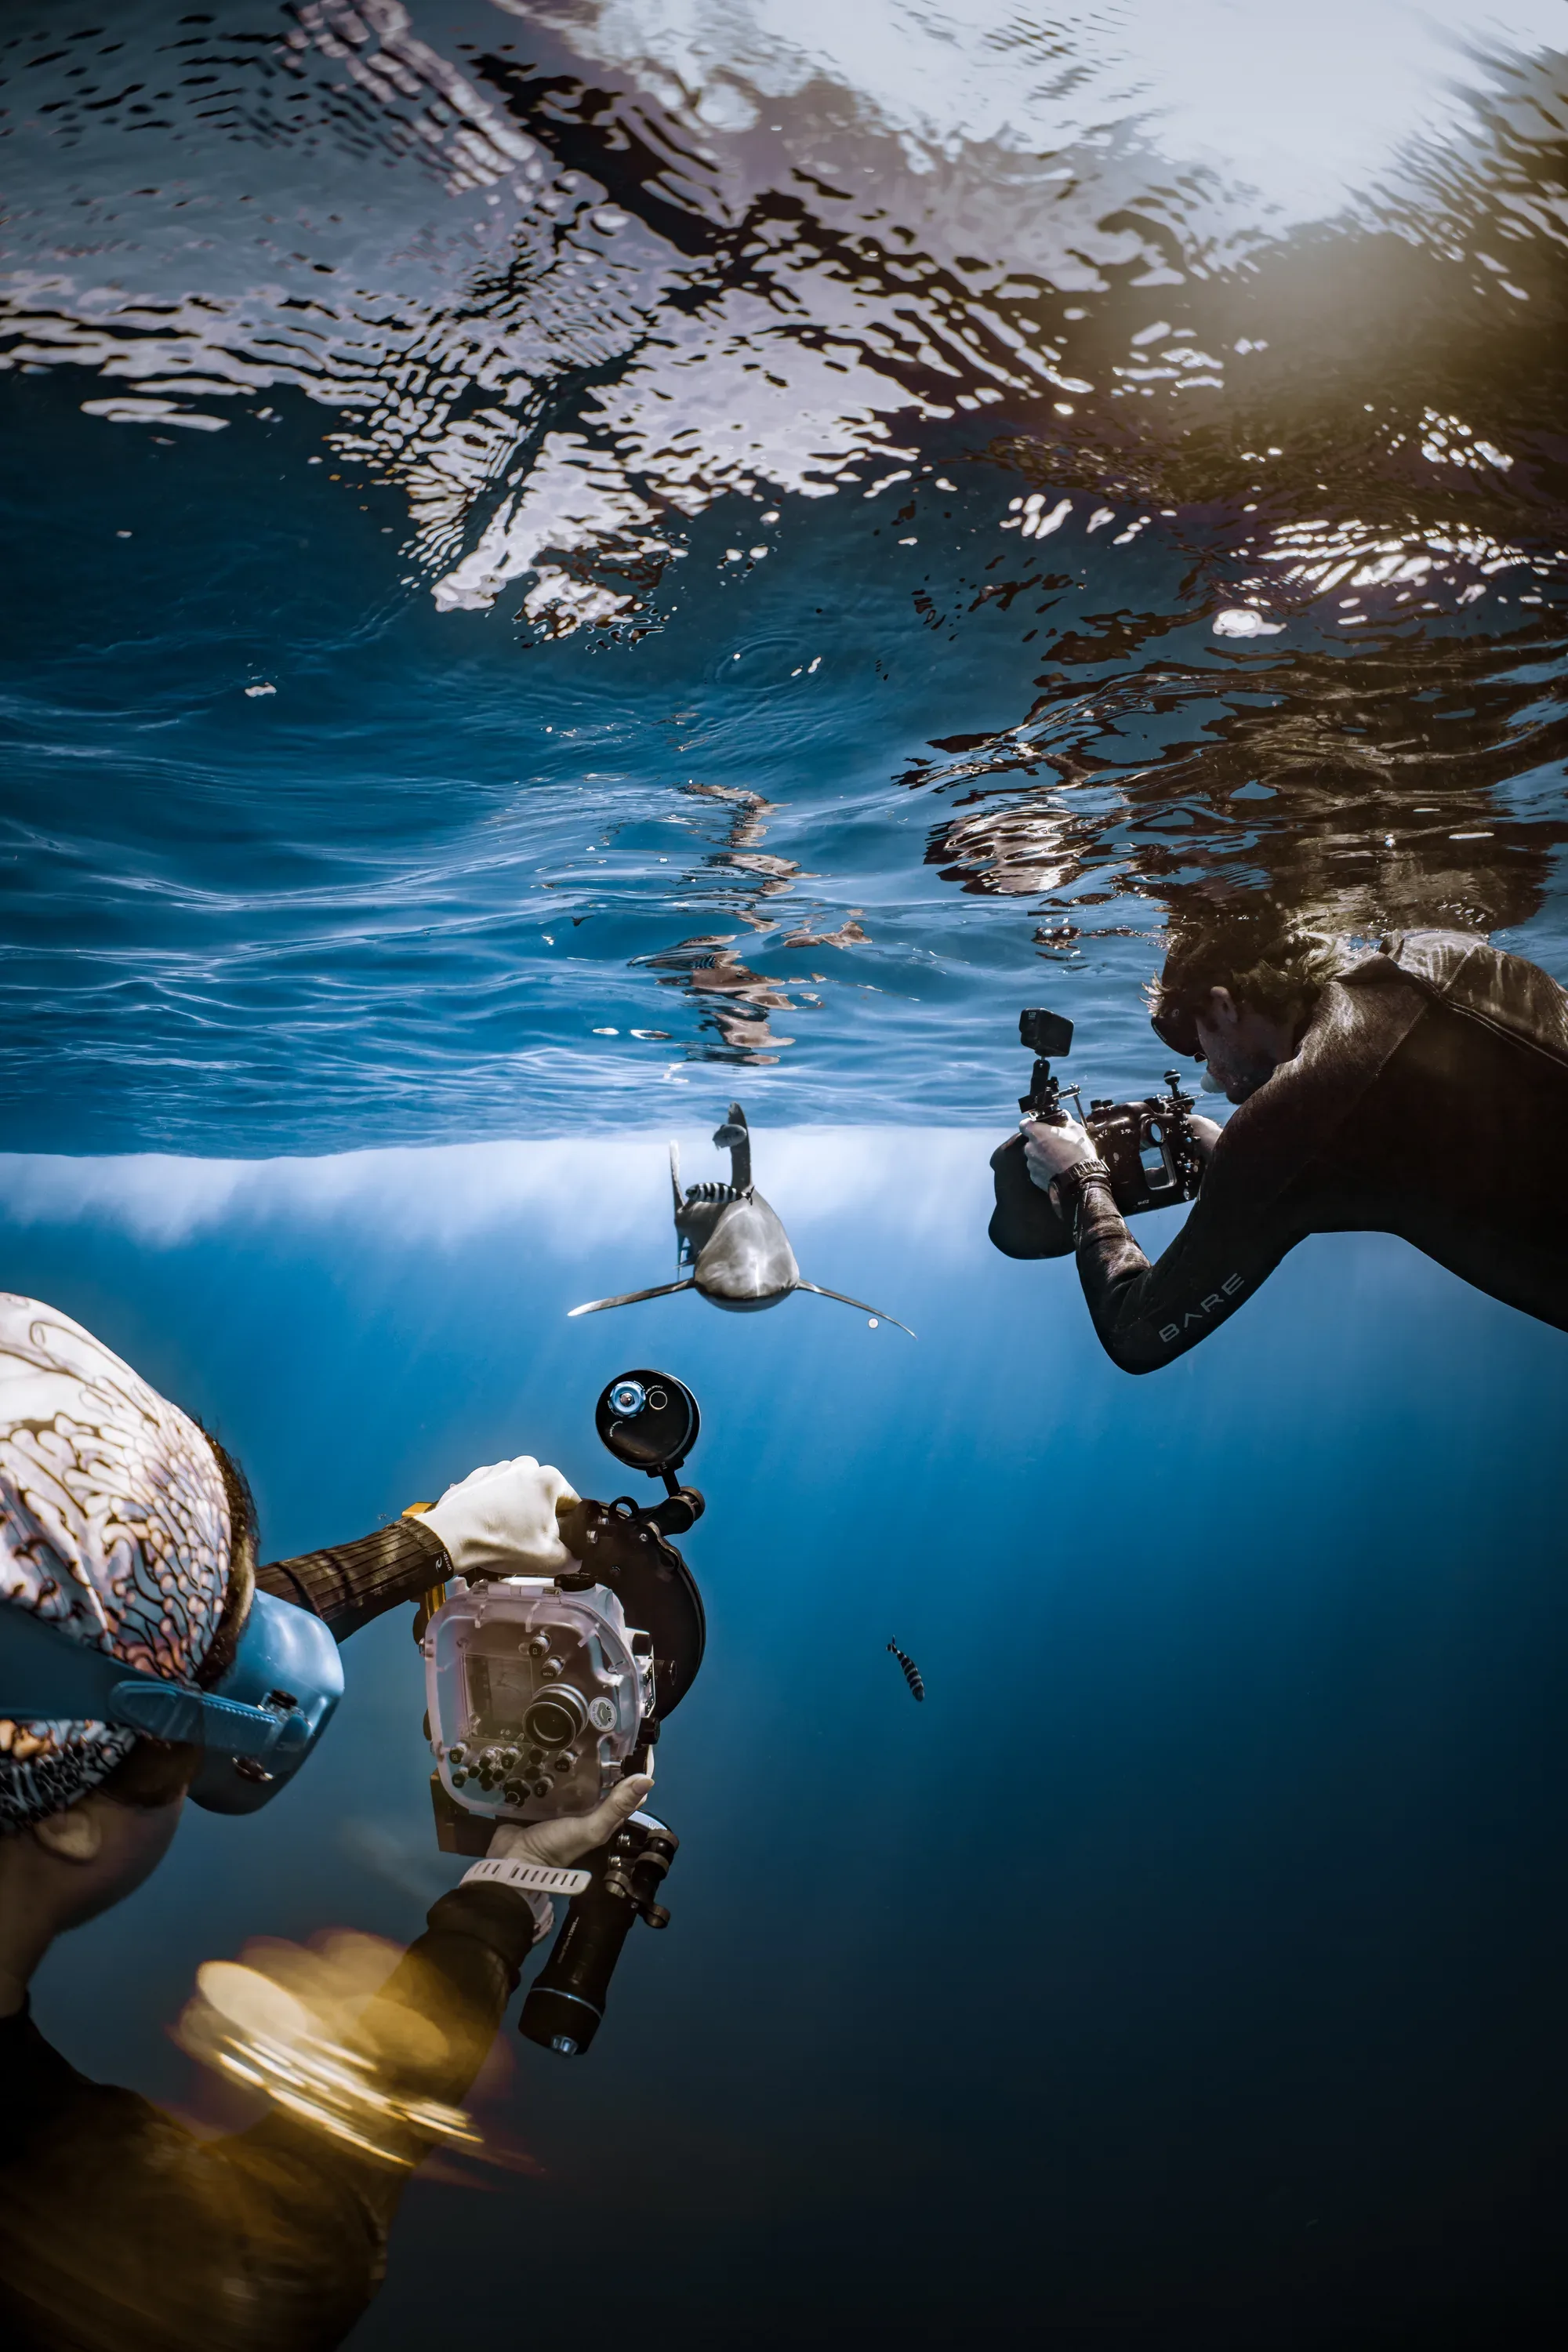
Editing underwater photos follows a fixed rescue order: white balance first, exposure second, contrast and dehaze third, selective masking fourth, backscatter cleanup fifth, and restraint throughout. Water stole your reds, flattened your contrast and sprinkled particles through the frame — editing is how you take back what the ocean borrowed, without inventing what was never there. This is the workflow I run on my own shark files and teach at the mentorship editing table, step by step.
It assumes Lightroom (or any RAW editor — the logic is identical) and, crucially, that you shot RAW. If you shot JPEG: some of this works at half strength; next trip, shoot RAW.
Step 1: white balance — the single biggest fix
Underwater RAW files open blue-green because they are blue-green; the warm data is recorded but suppressed. Pull the temperature slider toward warm and — for deeper files — the tint toward magenta, until skin, sand or shark hide looks plausible again. Two honest anchors: white sand and tank aluminum make excellent neutral references for the eyedropper (one reason Tiger Harbour's sand stage files edit so gratefully).
The restraint rule arrives immediately: chase full "topside" color from a 25-meter file and you'll tear the blues into banding and neon. Rescue the subject's color; let the water stay water. The blue is not a mistake — it's the location.
Step 2: exposure and the tone curve
Underwater files usually sit darker than optimal (you protected highlights, or the dawn was simply dim — as thresher files always are). Lift exposure until the subject reads correctly, ignore what that does to the background for now. Then: shadows up moderately to open the animal's flank, highlights down to keep the surface glow, whites and blacks set so the histogram touches both ends. Underwater scenes are naturally low-contrast; the curve is where they wake up — a gentle S beats any preset.
Step 3: contrast, clarity, dehaze — the water-cutters
Dehaze is the underwater slider. It was practically invented for us: +10 to +25 cuts the milky water-column veil and snaps distant subjects forward. Beyond that it turns blues radioactive — watch the background as you drag. Clarity +5 to +15 for midtone bite on skin texture and stripes; texture sparingly (it amplifies backscatter — see step 5). If you remember one number from this article: Dehaze +15, then look.
Step 4: masking — edit the shark, not the ocean
Global sliders take you 80%; masking is the pro 20%. Select the subject (modern AI masking handles sharks startlingly well), then: slight exposure lift, slight warmth, a touch of clarity — on the animal only. Invert for the water: pull highlights down, deepen the blue luminance, maybe a whisper of darkening vignette. The photo suddenly has depth of attention — viewer's eye goes where yours did. This step is where mentorship guests gasp; it's also where taste lives, so: light hands.
Step 5: backscatter cleanup
Those bright particle dots — sand, plankton, your buddy's fin-storm — come out with the healing/remove tool: zoom to 100%, work systematically corner to corner, resist perfectionism. Clear the face and the negative space around the subject; forgive the rest. Twenty minutes of dot-hunting on a portfolio frame is love; on every frame it's madness. (Strobe technique prevents most of it — angles out, power low.)
Step 6: the finish — crop, noise, sharpen, stop
Crop for the eye-line and negative space (my bias: give sharks room to swim into). Noise reduction to taste — dawn files at ISO 1250 clean up beautifully with modern AI denoise, which is why spending ISO bravely is safe advice now. Output sharpening last, sized for destination. Then the hardest skill in the entire workflow: stop. Over-edited underwater photos — crunchy, neon, haloed — are the genre's signature failure. When in doubt, back every slider off 20% and sleep on it. The morning version of you has better taste.
The 15-minute honest summary
WB warm till true → exposure for subject → gentle S-curve → Dehaze +15 → mask subject up, water down → heal the dots that matter → crop, denoise, export → walk away. That's it. Everything else is repetition and taste — and taste is built fastest editing your own files next to someone who's made every mistake already: editing sessions run $250 (1h) / $400 (2h), remote or on-island, your files, your style, sharpened.
FAQ
What's the best software for editing underwater photos? Lightroom (or Lightroom Classic) covers 95% of underwater needs including AI masking and denoise; Photoshop for heavy backscatter surgery; free alternatives (Darktable) follow the same workflow logic.
Can you fix underwater photos shot in JPEG? Partially — white balance recovery is the big casualty. You'll rescue exposure and contrast, not deep color. The one-word fix is upstream: RAW.
How do you get rid of backscatter? Healing tool at 100% zoom for the frames that deserve it; better strobe positioning to prevent it. Triage beats perfectionism.
Why do my edited underwater photos look fake? Almost always: white balance pushed past plausible + dehaze/saturation stacked too high. Re-anchor on something neutral in-frame and back off 20% — the ocean doesn't need neon to be dramatic.
Want your own files on the table? Bring a folder of RAWs — from here or anywhere — and we'll rebuild your workflow on them together. Editing sessions with Sina →
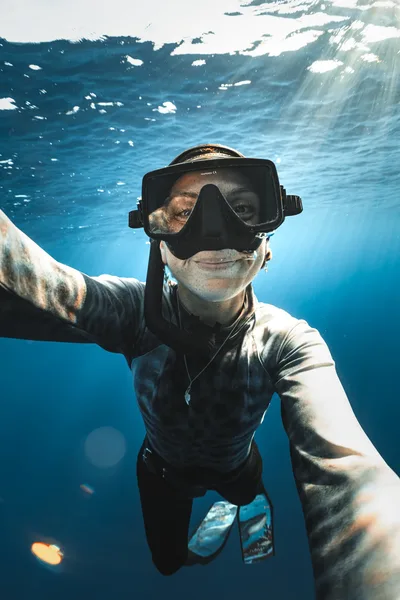
Sina Ritter is a multi-award-winning underwater photographer, SSI Photo & Video instructor, and co-founder of Liquid Shark Divers Fuvahmulah. Her undo history is her greatest teacher. Meet the team →