Underwater Photography for Beginners: What I Teach on Day One
Underwater photography for beginners reduces to four truths: get close (then closer), shoot slightly upward, master your buoyancy before your camera, and understand that water eats light — everything else is detail.
Underwater Photography for Beginners: What I Teach on Day One
Underwater photography for beginners reduces to four truths: get close (then closer), shoot slightly upward, master your buoyancy before your camera, and understand that water eats light — everything else is detail. I've taught this craft to hundreds of divers as a working professional, and day one is never about camera menus. It's about un-learning land photography.
Start here, and you'll skip the two years of murky blue disappointments most people begin with.
Truth 1: water is a light thief
Within the first meters of descent, water swallows red, then orange, then yellow. This is why beginner photos look blue-grey and flat — the warm half of the spectrum literally isn't there anymore.
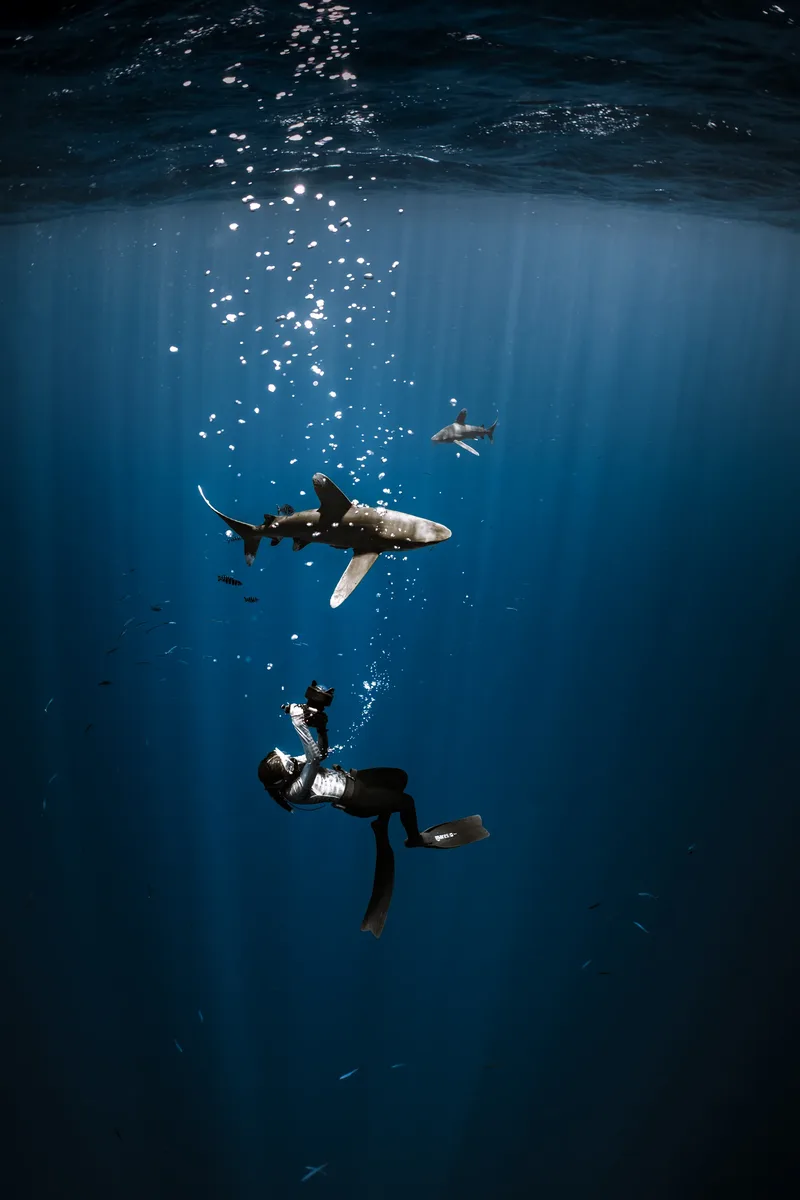
Your day-one weapons against it: shoot shallow (the reef at 5–10m is a lit studio; at 30m it's a cave), shoot up toward the light instead of down into the gloom, and get close — because every meter of water between you and the subject is a filter you can't remove in editing. Later come strobes and RAW recovery; first come these habits, which cost nothing.
Truth 2: distance is the enemy
The single biggest beginner error: shooting subjects 4 meters away. On land that's a portrait; underwater it's a blue smudge. Water isn't air — it's a dense, particle-filled medium.
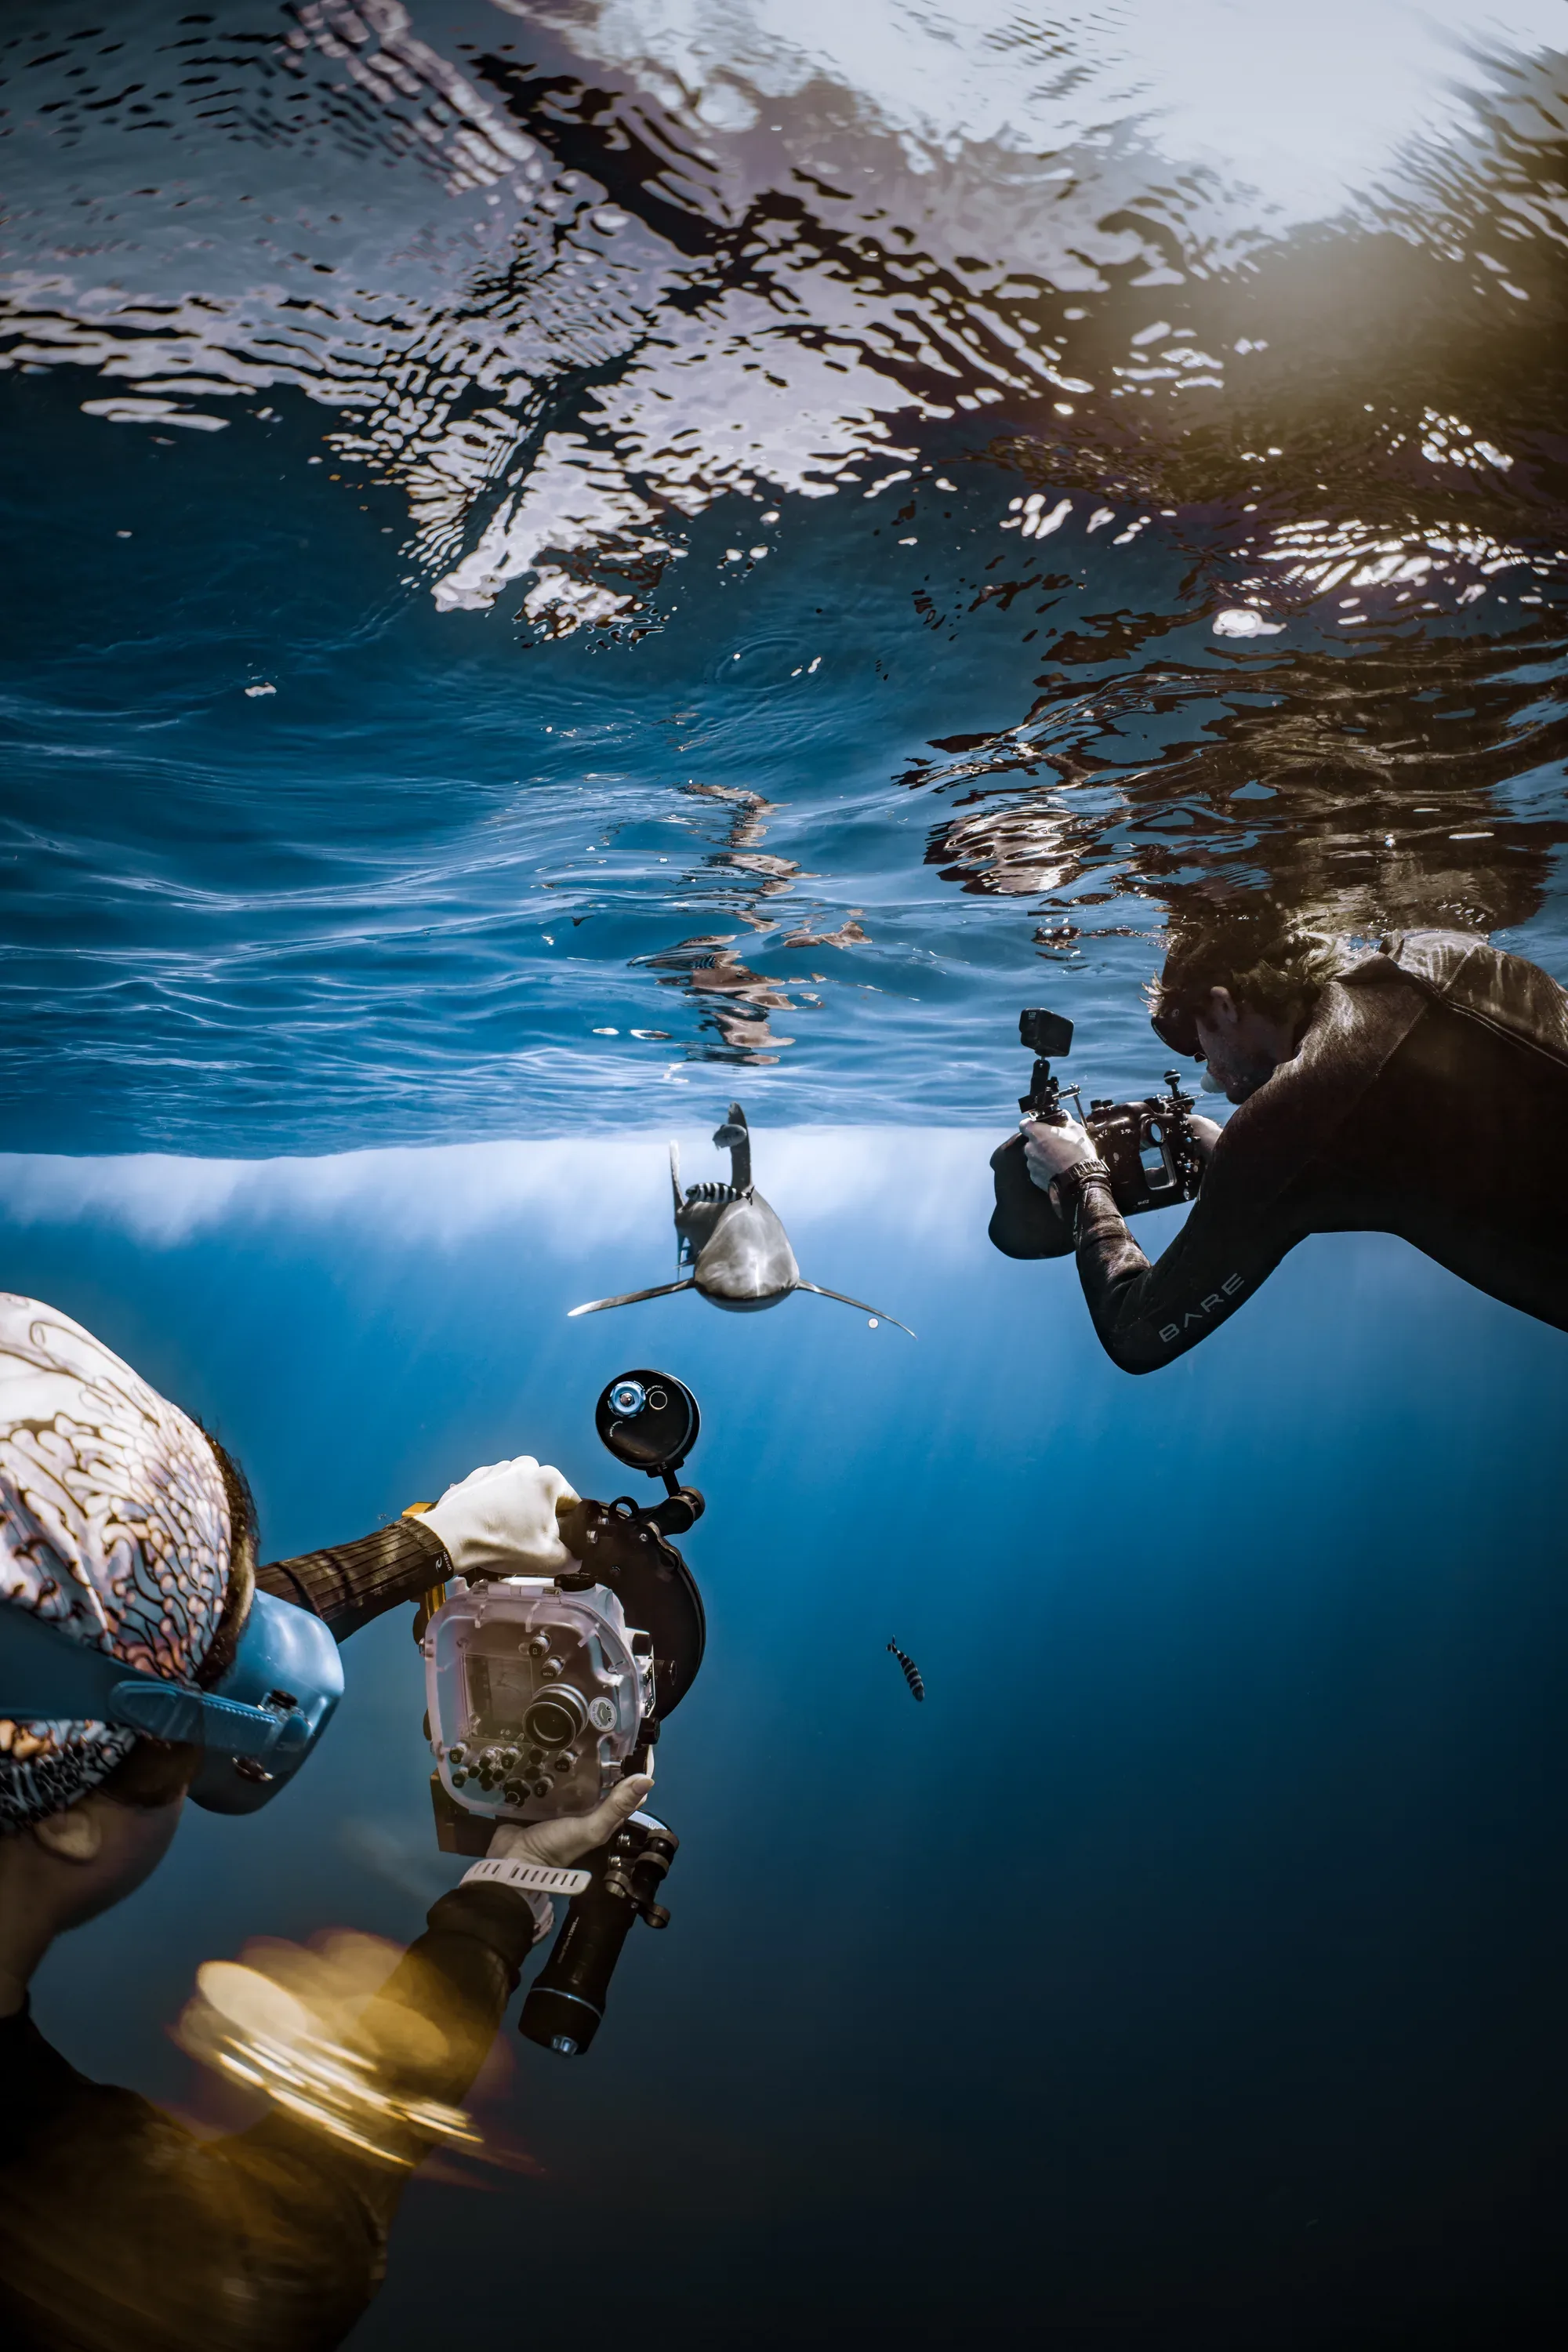
The rule I give every student: when you think you're close enough, halve the distance. Then consider halving it again. One meter is a working distance; arm's length is better. This is also why underwater photography is really a diving skill — getting close to marine life without disturbing it is craft, patience and respect braided together. (Close never means touching or chasing — the etiquette rules are the photography rules.)
Truth 3: buoyancy is your tripod
A photographer who can't hover can't compose — full stop. Wobbling divers get blurry frames, silted scenes, damaged coral, and stressed subjects that flee. The stable ones get everything.
Before you spend a cent on camera gear, spend on your control: master your buoyancy until a motionless mid-water hover is boring. My blunt professional advice: the $300 Perfect Buoyancy course will improve your photographs more than a $3,000 camera upgrade. I have never once seen this be untrue.
Truth 4: the camera matters least (day one edition)
Phones in housings, compacts, GoPros — all genuinely capable now (we rent underwater cameras for $120 if you want to try before buying). What beginners actually need from a camera: wide lens, decent low-light behavior, and RAW if possible. What they don't need: the flagship rig that adds task-loading before the fundamentals exist.
Settings to start (full breakdown coming later this month on the Log): fastest shutter the light allows, auto-ISO, white balance handled by shooting RAW or a red filter when shallow. Then stop reading menus and go practice truths 1–3.
Day-one drills that actually build the skill
The hover-and-frame drill: hold position, compose a static subject, shoot, check, adjust — ten times per dive. The approach drill: pick a fish, close distance slowly on its terms, note when it stops caring about you. That threshold is where photographs live. The look-up drill: end every dive shooting silhouettes toward the surface — the most forgiving beautiful shot in the ocean, and free training in reading light.
Then review ruthlessly: every blurry frame is a buoyancy note, every blue smudge a distance note. Ten deliberate dives beat a hundred hopeful ones.
Where this path leads
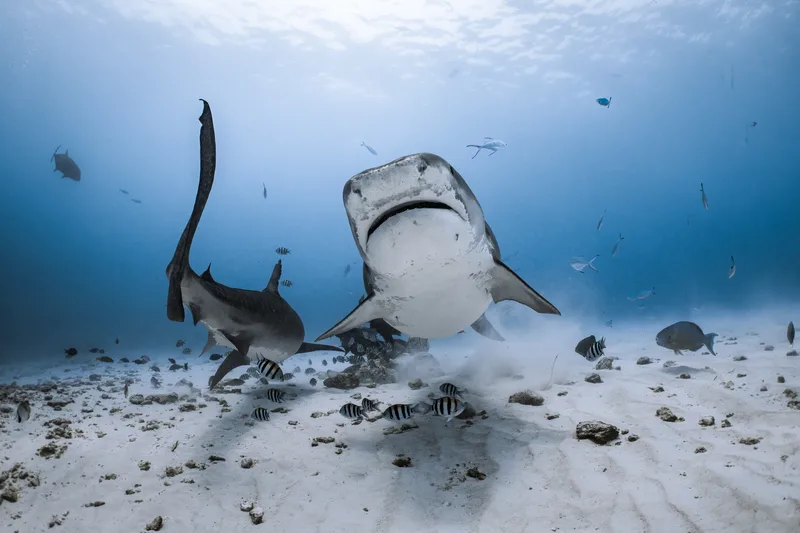
This is the first article in our photography series — camera settings, shark photography, GoPro setups and editing all follow in the coming weeks. And if you'd rather compress the whole learning curve into one week in the water with me — that's literally my job: photography mentorships from a single day ($450) to a full five-day intensive ($1,600), SSI Photo & Video certification included, on an island where the subjects are tiger sharks, threshers and oceanic mantas.
Every professional you admire started with blue smudges. The difference was never talent — it was deliberate practice, honest review, and someone pointing at the right things early.
FAQ
What camera should a beginner buy for underwater photography? The one you'll actually take diving — a housed phone, compact or GoPro is plenty for year one. Spend the difference on dives and buoyancy training; upgrade glass when your skills outgrow the gear (you'll know).
Do I need strobes as a beginner? Not yet. Learn ambient light first — shallow, close, shooting up. Strobes solve problems you should meet after the fundamentals, or they become expensive confusion.
How do I get sharp photos underwater? Stability (buoyancy), proximity (less water = less blur-inducing haze), and shutter speed (1/200+ for anything that moves). In that order.
Can I learn underwater photography on holiday? It's the best place to learn — daily dives, immediate review, consistent conditions. A structured week with coaching advances most people further than a year of occasional attempts.
Want day one to happen next to a professional — with tiger sharks as your first models? Tell me where you're starting from, and I'll tell you honestly what a mentorship would change. Photography with Sina →
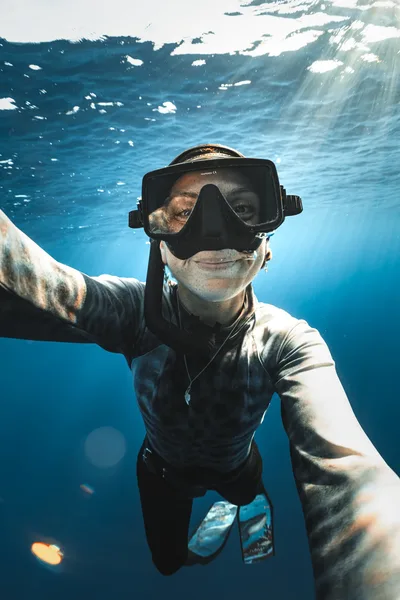
Sina Ritter is a multi-award-winning underwater photographer, SSI Photo & Video instructor, and co-founder of Liquid Shark Divers Fuvahmulah. Day one is still her favorite lesson to teach. Meet the team →